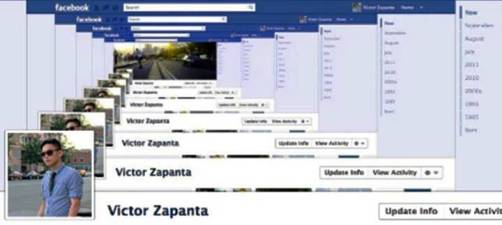
If you are a fan of Facebook, I am sure that you have already heard
about the Facebook Timeline and wanted to experience it before most
people do. The Timeline is a new view of the Facebook profile page,
where you can trace everything that were posted to your page, and have
them appear like a scrolling journal, and where photo views are
different.
In order to activate your Facebook Timeline profile, you need to follow this guideline.
1. Login to your Facebook account and then click this link to activate the developer app.
2. As you are requested to permission to access your information, allow the app and then it will guide you to the developer app.
3. Click on the “Create New App” on the upper right corner of the page.
4. As the “New App” window pops out, it will ask you
for a display app name, and app namespace. You may come up with
anything you want on both, but the namespace should not have special
characters and should be lowercase, with no spaces.
5. There will be an app summary afterwards. Click “Open Graph” somewhere on the left side to continue.
6. Once opened the graph, give any verb or action
word on the first bar, and then any noun on the second bar. Click “Get
Started” to continue.
7. Go to the lowest part of the page and then click “Save Changes and Next”.
8. Repeat step 7.
9. Click “Save and Finish” to proceed to the next page.
10. Once done and you see the Apps > (Name) >
Open Graph, go back to your Facebook home page, and you will get an
invite to activate the Facebook Timeline. Click “Get it Now” and you
have the Timeline profile activated.
11. As you access the profile for the first time, you are encouraged
to put in a cover, whether from photos on your Facebook album or you can
upload from your computer. Just in case you need to change it, just
click the “Change Cover” and you can do the process again.
More coming soon…
4. The Blue Screen of Death

3. Rainy Pic Cover Merge

2. Dual Person Pic Cover Merge

1. Deep Cover Illusion

No comments:
Post a Comment